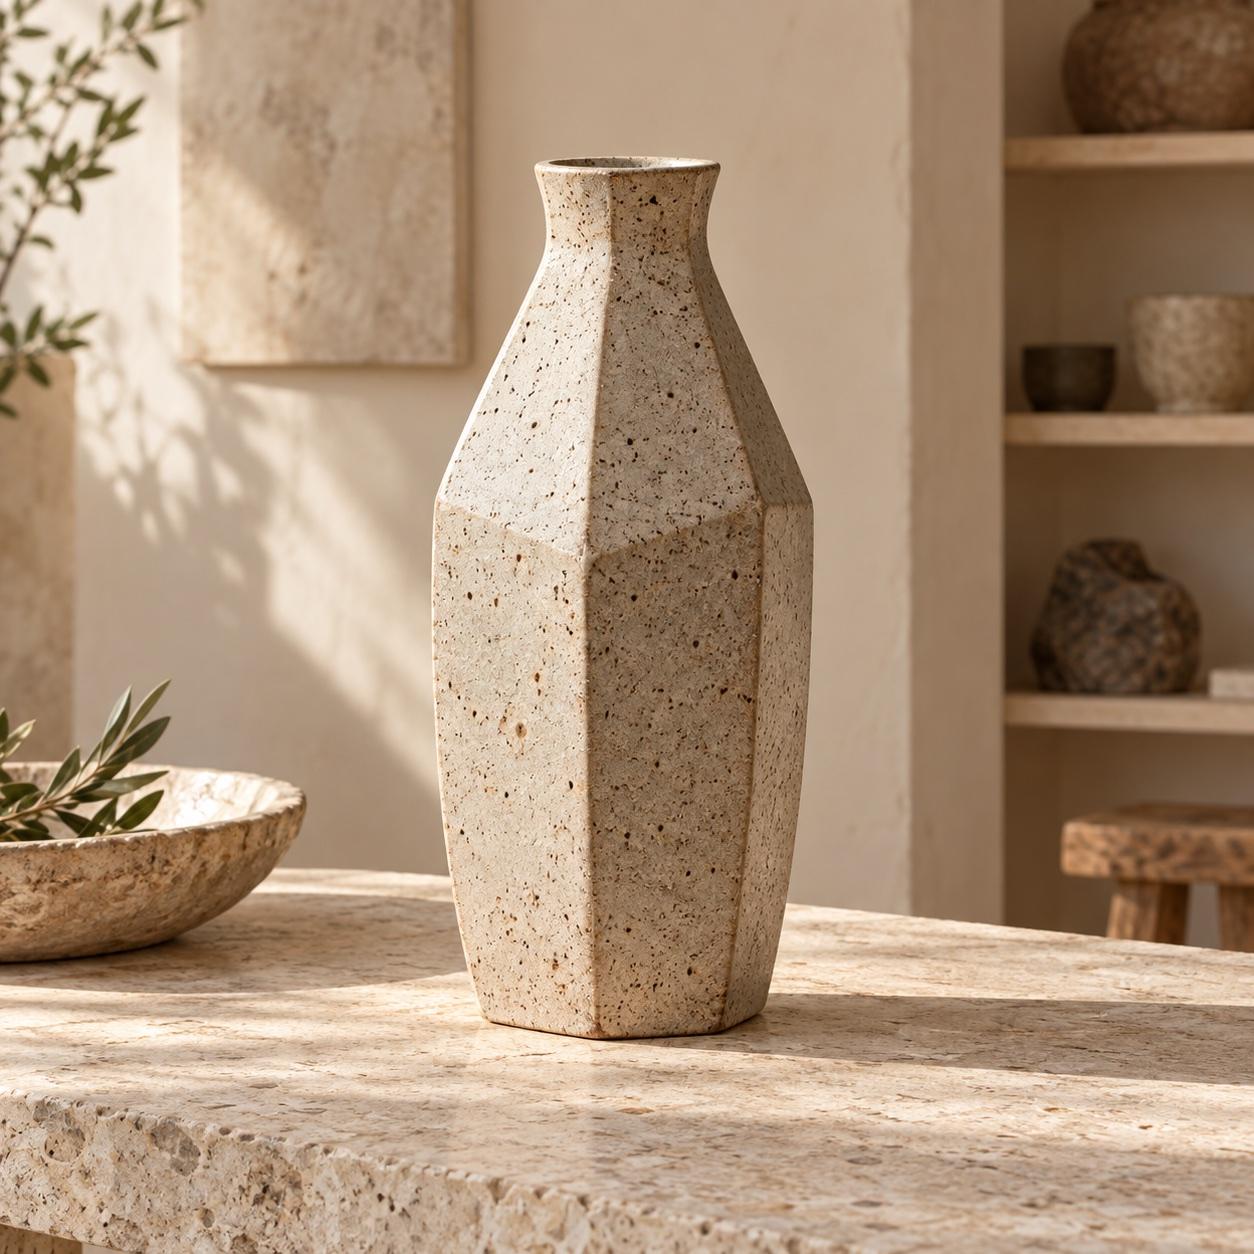
Faceted Stoneware Vase
The angular silhouette can be constructed from flat slabs. The reference does not reveal the interior, so the neck join is an informed design choice.
THE MAKING WORKSPACE
Here is how it comes together.
01 / Overview
Object analysis & build specification
Decorative vessel
The angular silhouette can be constructed from flat slabs. The reference does not reveal the interior, so the neck join is an informed design choice.
CONSTRUCTION
Six-panel slab construction
Slab thickness
6 mm
ESTIMATED CLAY
Approx. 1.4–1.8 kg, including trimming allowance
Active time
3–4 hours
Dry / cure
Dry slowly until bone dry; timing depends on your studio
FINISHING
Smooth the rim at leather-hard stage. Follow your studio’s bisque and glaze firing schedule.
Before you start
✳ The image cannot establish a watertight interior or exact panel angles.
✳ A 12% shrinkage value is an example; measure your own clay body before cutting the final template.
Assumptions
✳ Finished height is 25 cm.
✳ Measured total shrinkage is 12%.
✳ The piece is slab-built from stoneware.
Faceted Stoneware Vase
Finished height: 25 cm · Build height: 28.4 cm · Shrinkage: 12%
Six-panel slab construction · Approx. 1.4–1.8 kg, including trimming allowance · 3–4 hours
Cut list & parts
- Body panel × 6: 92 × 202 mm. Bevel side edges to close the hexagonal body.
- Base × 1: 184 × 160 mm. Trace the assembled hexagonal body on a fresh slab and cut the base to that footprint; these are approximate bounding dimensions.
- Neck panel × 6: 74 × 82 mm. Check the shoulder angle against a paper mockup.
- Rim × 1: — × — mm. Finish by hand after joining.
Making steps
1. Test the silhouette
Make a quick paper mockup of one body panel and one neck panel. Adjust the shoulder angle before cutting clay.
A paper test saves a full slab from an incorrect join.
2. Roll and rest the slab
Roll clay to about 6 mm between guides. Let it firm evenly until the surface can be lifted without stretching.
Keep unused slab covered.
3. Cut the body panels
Trace six matching panels. Mark the top and bottom edge on each piece and bevel the side edges consistently.
Check that all panels share the same height.
4. Assemble the body
Score and slip each joining edge, then compress both sides of every seam. Attach the base after the walls hold their shape.
Support the walls from inside while compressing.
5. Add the neck and refine
Join the neck panels, blend the shoulder and compress the rim. Allow the piece to dry slowly under loose plastic.
Avoid a dry rim attached to wet walls.
6. Fire and finish
Bisque, glaze and fire according to your clay body and studio schedule after the piece is fully dry.
Confirm firing temperatures with your clay and glaze suppliers.
Materials & tools
- Stoneware clay: 1.4–1.8 kg
- Matching slip: Small batch
- Glaze: As required by your studio process
- Rolling guides
- Knife and metal ruler
- Scoring tool
- Banding wheel
Smooth the rim at leather-hard stage. Follow your studio’s bisque and glaze firing schedule.
- The image cannot establish a watertight interior or exact panel angles.
- A 12% shrinkage value is an example; measure your own clay body before cutting the final template.
- Finished height is 25 cm.
- Measured total shrinkage is 12%.
- The piece is slab-built from stoneware.